Install Using TAR Archive
IMPORTANT NOTE: It is recommended to create a separate user to run Padas, other than root. In our examples, we use padas as both the user and group name. Following is an example on how to create such user:
sudo useradd -d /opt/padas -U padas
Padas installation folder structure:
| Folder | Description |
|---|---|
/bin | Scripts for starting/stopping services |
/etc | Configuration files |
/libs | Jar files |
/logs | Log files |
/var | Runtime state store location (default, but configurable) |
Step 1: Acquiring Padas
-
Download the latest version of Padas Engine and UI components from padas.io applicable to your platform.
padas-engine-1.0.0.tgz
padas-ui-1.0.0-linux-x64.tgz (or darwin) -
Use the
tarcommand to decompress the archive filetar -xzf padas-engine-1.0.0.tgz
tar -xzf padas-ui-1.0.0-linux-x64.tgz (or darwin) -
After extraction, combine the two
padasfolders. By default, twopadasdirectories are created:
One containing theuifolder
The other containing theenginefolderTo organize them into a single
padasdirectory, use the following structure:padas/
├── engine/ # Contents of padas-engine
└── ui/ # Contents of padas-ui -
By default, Padas Engine expects Kafka to be running on
localhost. If that's not the case, editpadas/engine/etc/padas.propertiesaccordingly. If thepadas.propertiesfile does not exist, copy thepadas.properties.examplefile to create it.
NOTE: You can install these components in a distributed environment. For possible configuration options, please refer to Configuration File Reference.
Step 2: Start Engine
At this stage, make sure you have Confluent Kafka is running as mentioned in prerequisites.
-
Start engine node on the console. The script will ask you to accept the license agreement (enter
y or yes)cd padas/engine
bin/padas start -
Copy the token above and save it securely for later use with padas-ui
IMPORTANT: Please save this service account token in a secure location. You will need it to connect padas-ui to this engine instance.
Service Account Token: your-generated-jwt-token-hereNOTE: If Padas is configured to utilize Kafka (
padas.config.store=kafkain properties file) to store configurations you will need to create the required topics (configuration namespaces). If not, you will receive a warning as following on the console....
WARN Unable to describe required topics for Padas. Please create these topics in order to run the engine.
...NOTE: To stop the Padas engine, use the following command:
bin/padas stop
Step 3: Start UI
-
Start UI component on the console. Default configuration connects to
localhostfor Padas Engine. The script will ask you to accept the license agreement (entery or yes)cd padas/ui
bin/padas start -
Access UI: Once the UI starts successfully, you will see a message indicating that Padas UI is running. Open your browser and navigate to the URL shown in the message (typically
http://localhost:5000). -
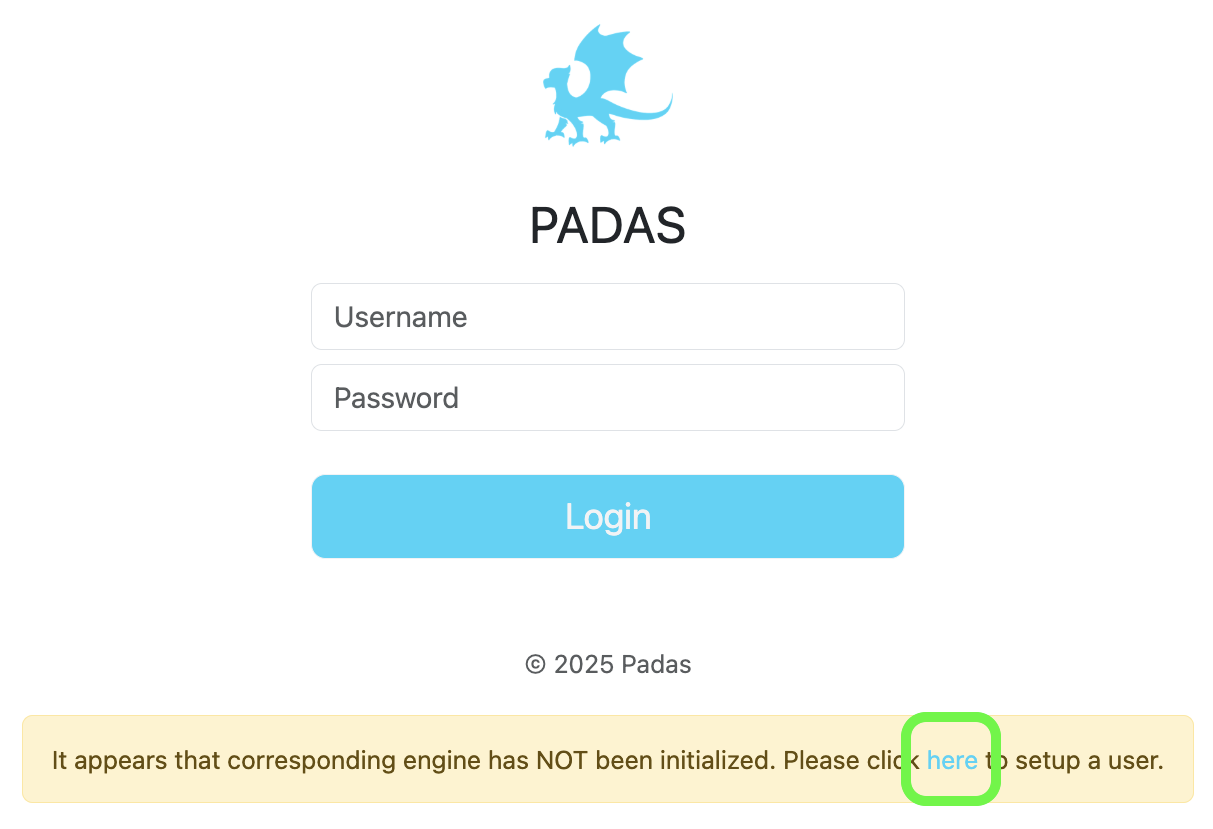
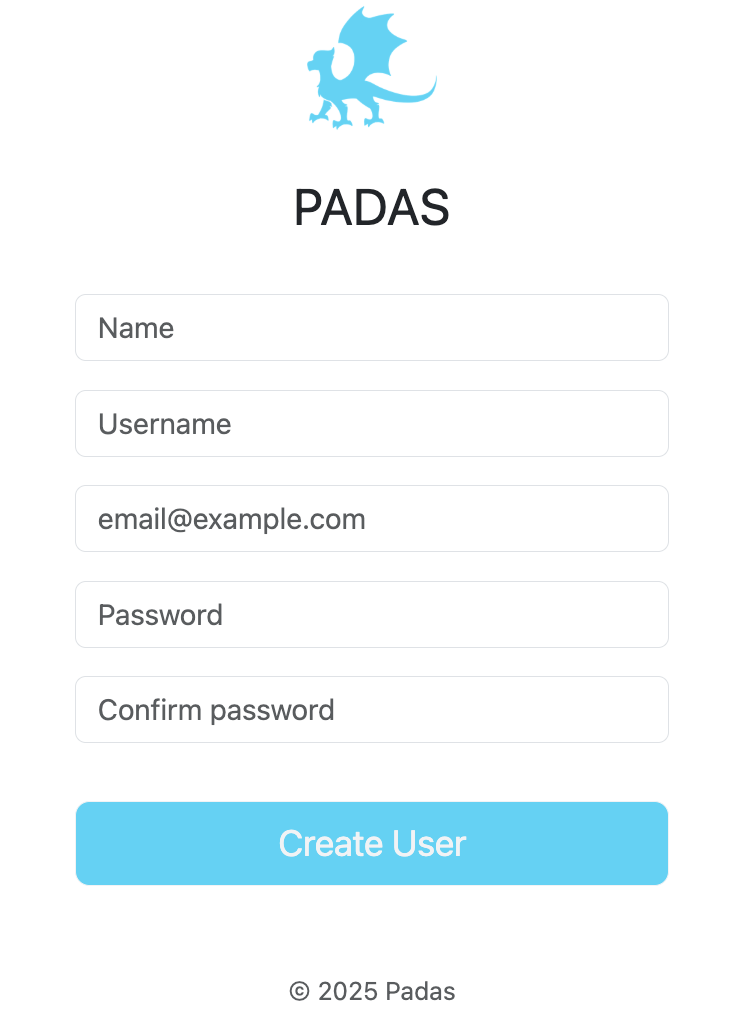
Initialize User: Go to https://localhost:5000 and since this is the first time, click the link below and create an administrator user.


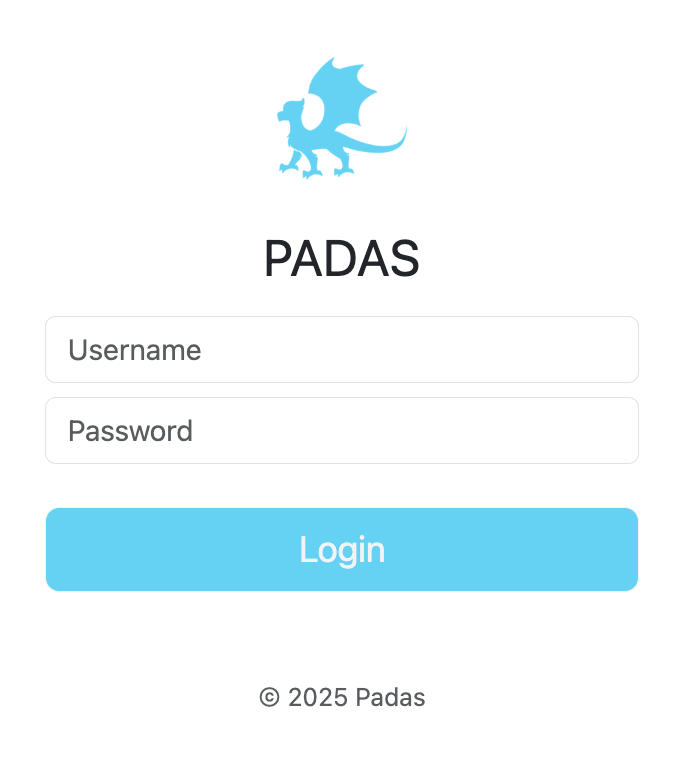
- Login: After initial user creation you will be redirected to Login screen; Login with the newly created user credentials.

Step 4: Register as a Service
NOTE: Following steps are applicable for both Engine and UI components. For UI, simply use bin/padas-ui as the command.
- Run Padas to create a service file. (Note: following examples assume
$PADAS_HOMEto be/opt/padasdirectory)bin/padas set-service
Systemd unit file has been created as '/opt/padas/libs/padas.service' - Review the generated service file (
libs/padas.service) and edit as necessary (e.g. user & group information, JVM memory options according to your system settings)[Unit]
Description=PADAS - Engine for Streaming Events
Documentation=https://padas.io/docs/overview
After=network.target
#
[Service]
Type=simple
User=padas
Group=padas
ExecStart=java -Xmx1G -Xms1G -Dconfig.file=/opt/padas/etc/padas.properties -Dlogging.config=/opt/padas/etc/logback.xml -jar /opt/padas/libs/padas-{{ current_version }}.jar
TimeoutStopSec=180
Restart=no
#
[Install]
WantedBy=multi-user.target - Copy the service file under system
sudo cp /opt/padas/libs/padas.service /etc/systemd/system/ - Reload systemd process
sudo systemctl daemon-reload - You can control the service (start/stop) via
systemctlor from$PADAS_HOME/bin/padasscript, which internally utilizessystemctl./opt/padas/bin/padas start
Command Line Interface
Comman Lince Interface (CLI) is a wrapper script is provided to manage PADAS service: $PADAS_HOME/bin/padas
Welcome to Padas Command Line Interface (CLI).

Usage:
  padas [command]

  Available Commands:
    status                    Show Padas service status and PID information
    start                     Start Padas service
    stop                      Stop Padas service
    start-console             Start Padas on the console
Uninstall
- Stop Padas service(s).
/opt/padas/bin/padas stop - Remove any system service definition. For example
rm /etc/systemd/system/padas.service - Remove Padas installation directory. For example:
rm -rf /opt/padas